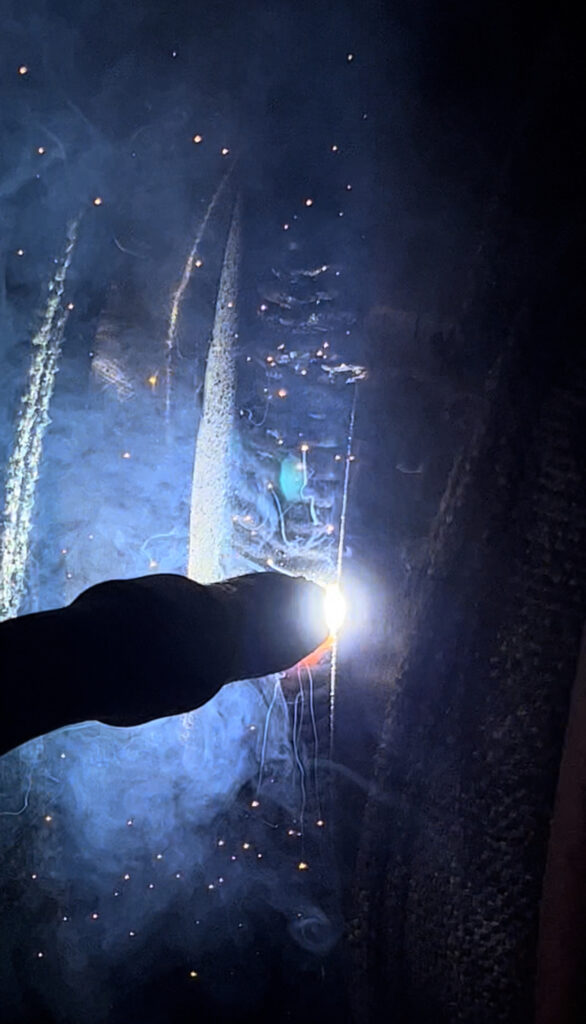
- Safety precautions: Before you begin welding, make sure you have the necessary safety equipment. This includes a welding helmet with a darkened visor, welding gloves, a welding jacket or apron, and safety glasses, and leather boots or shoes. Ensure you are working in a well-ventilated area or use a fume extraction system to avoid breathing in harmful welding fumes.
- Preparation: Prepare the work surface by cleaning it from any rust, paint, or contaminants using a wire brush or a grinder. Properly clean metal surfaces help achieve better weld quality.
- Machine setup: Set up your MIG welding machine according to the specifications of the metal you are welding and the wire diameter you are using. Refer to the manufacturer’s manual for specific settings. Generally, you will need to adjust the wire feed speed (WFS) and voltage based on the material thickness and type.
- Insert the wire spool: Load the appropriate wire spool onto the welding machine’s spool holder. Make sure the wire feeds through the machine smoothly, without any kinks or obstructions.
- Install the welding gun: Attach the welding gun or torch to the machine’s output terminal. Ensure the connection is secure.
- Gas setup: Connect the gas supply, typically a cylinder of a shielding gas such as argon or a mixture of argon and carbon dioxide (CO2), to the machine. Adjust the gas flow rate according to the manufacturer’s recommendations.
- Welding technique: Position the welding gun at a slight angle (around 10-15 degrees) to the workpiece, pointing toward the direction of travel. Hold the gun with a comfortable grip and maintain a steady hand.
- Arc initiation: Place the welding gun near the work surface and establish an arc by pulling the trigger. This action energizes the welding wire and starts the welding process.
- Welding motion: Move the welding gun along the joint in a controlled motion, typically in a straight line or a zigzag pattern. Maintain a consistent travel speed and keep the wire electrode at a consistent distance from the workpiece, usually around ⅜ to ½ inch (9-13 mm).
- Filler metal deposition: As you move the welding gun, the wire electrode will melt and create a pool of molten metal. Simultaneously, the shielding gas protects the weld from atmospheric contamination. Gradually move the gun along the joint, adding filler metal if necessary, until you reach the end of the weld.
- Weld inspection: Allow the weld to cool down and inspect it for any defects or imperfections. Ensure the weld bead is smooth, uniform, and properly fused with the base metal.
Remember, MIG welding requires practice to master. Start with simple projects and gradually increase the complexity as you become more comfortable with the process. Additionally, always follow safety guidelines and refer to the specific instructions provided by the welding machine manufacturer.
